
10 Essentials to Craft a Story Before an Interior Photo Shoot
Founder Commentary by Jeff JonesWhen I step into a space with my camera, I’m not just documenting a room - I’m looking for a story.As an interior design photographer, my work is rooted in one belief: the most powerful images don’t just show how a space looks - they reveal how it feels.I want to understand the journey behind the design:
Was this a milestone project? A creative risk? A forever home?Those are the stories that deserve to be told - and told well.
Why Storytelling Matters in Interior Photography
Interior designers pour months (or years) into their projects. But when it comes time to photograph it, the storytelling piece often gets overlooked.Instead of styling with intention or mapping out a visual arc, the shoot becomes a checklist - and the final gallery, while technically clean, often lacks emotional connection.But here’s the truth:Photos are how your work lives on.
They help future clients see themselves in your spaces. They get editors to pause. They build trust.When a story is missing, you might still get a pretty shot - but you won’t get the kind that builds momentum for your brand.That’s why I shoot editorially. I’m not just capturing the design - I’m translating the narrative behind it.
What I Look for in Every Shoot
When working with designers, I always ask:What’s the emotional intent behind this space?What mood should we evoke?What do you want potential clients (or editors) to feel when they see it?
Because when your story is clear, your shoot becomes more strategic.Your content becomes more versatile.Your brand becomes more memorable.
10 Essentials to Craft a Story Before an Interior Photo Shoot
Here are 10 pre-shoot elements I recommend every designer considers - to make your story stronger and your images more valuable across platforms.
1. Clarify the Intent of the Project
Is this a transformation? A creative signature? A forever home?Understanding the “why” gives the shoot purpose and helps guide the framing, styling, and pacing.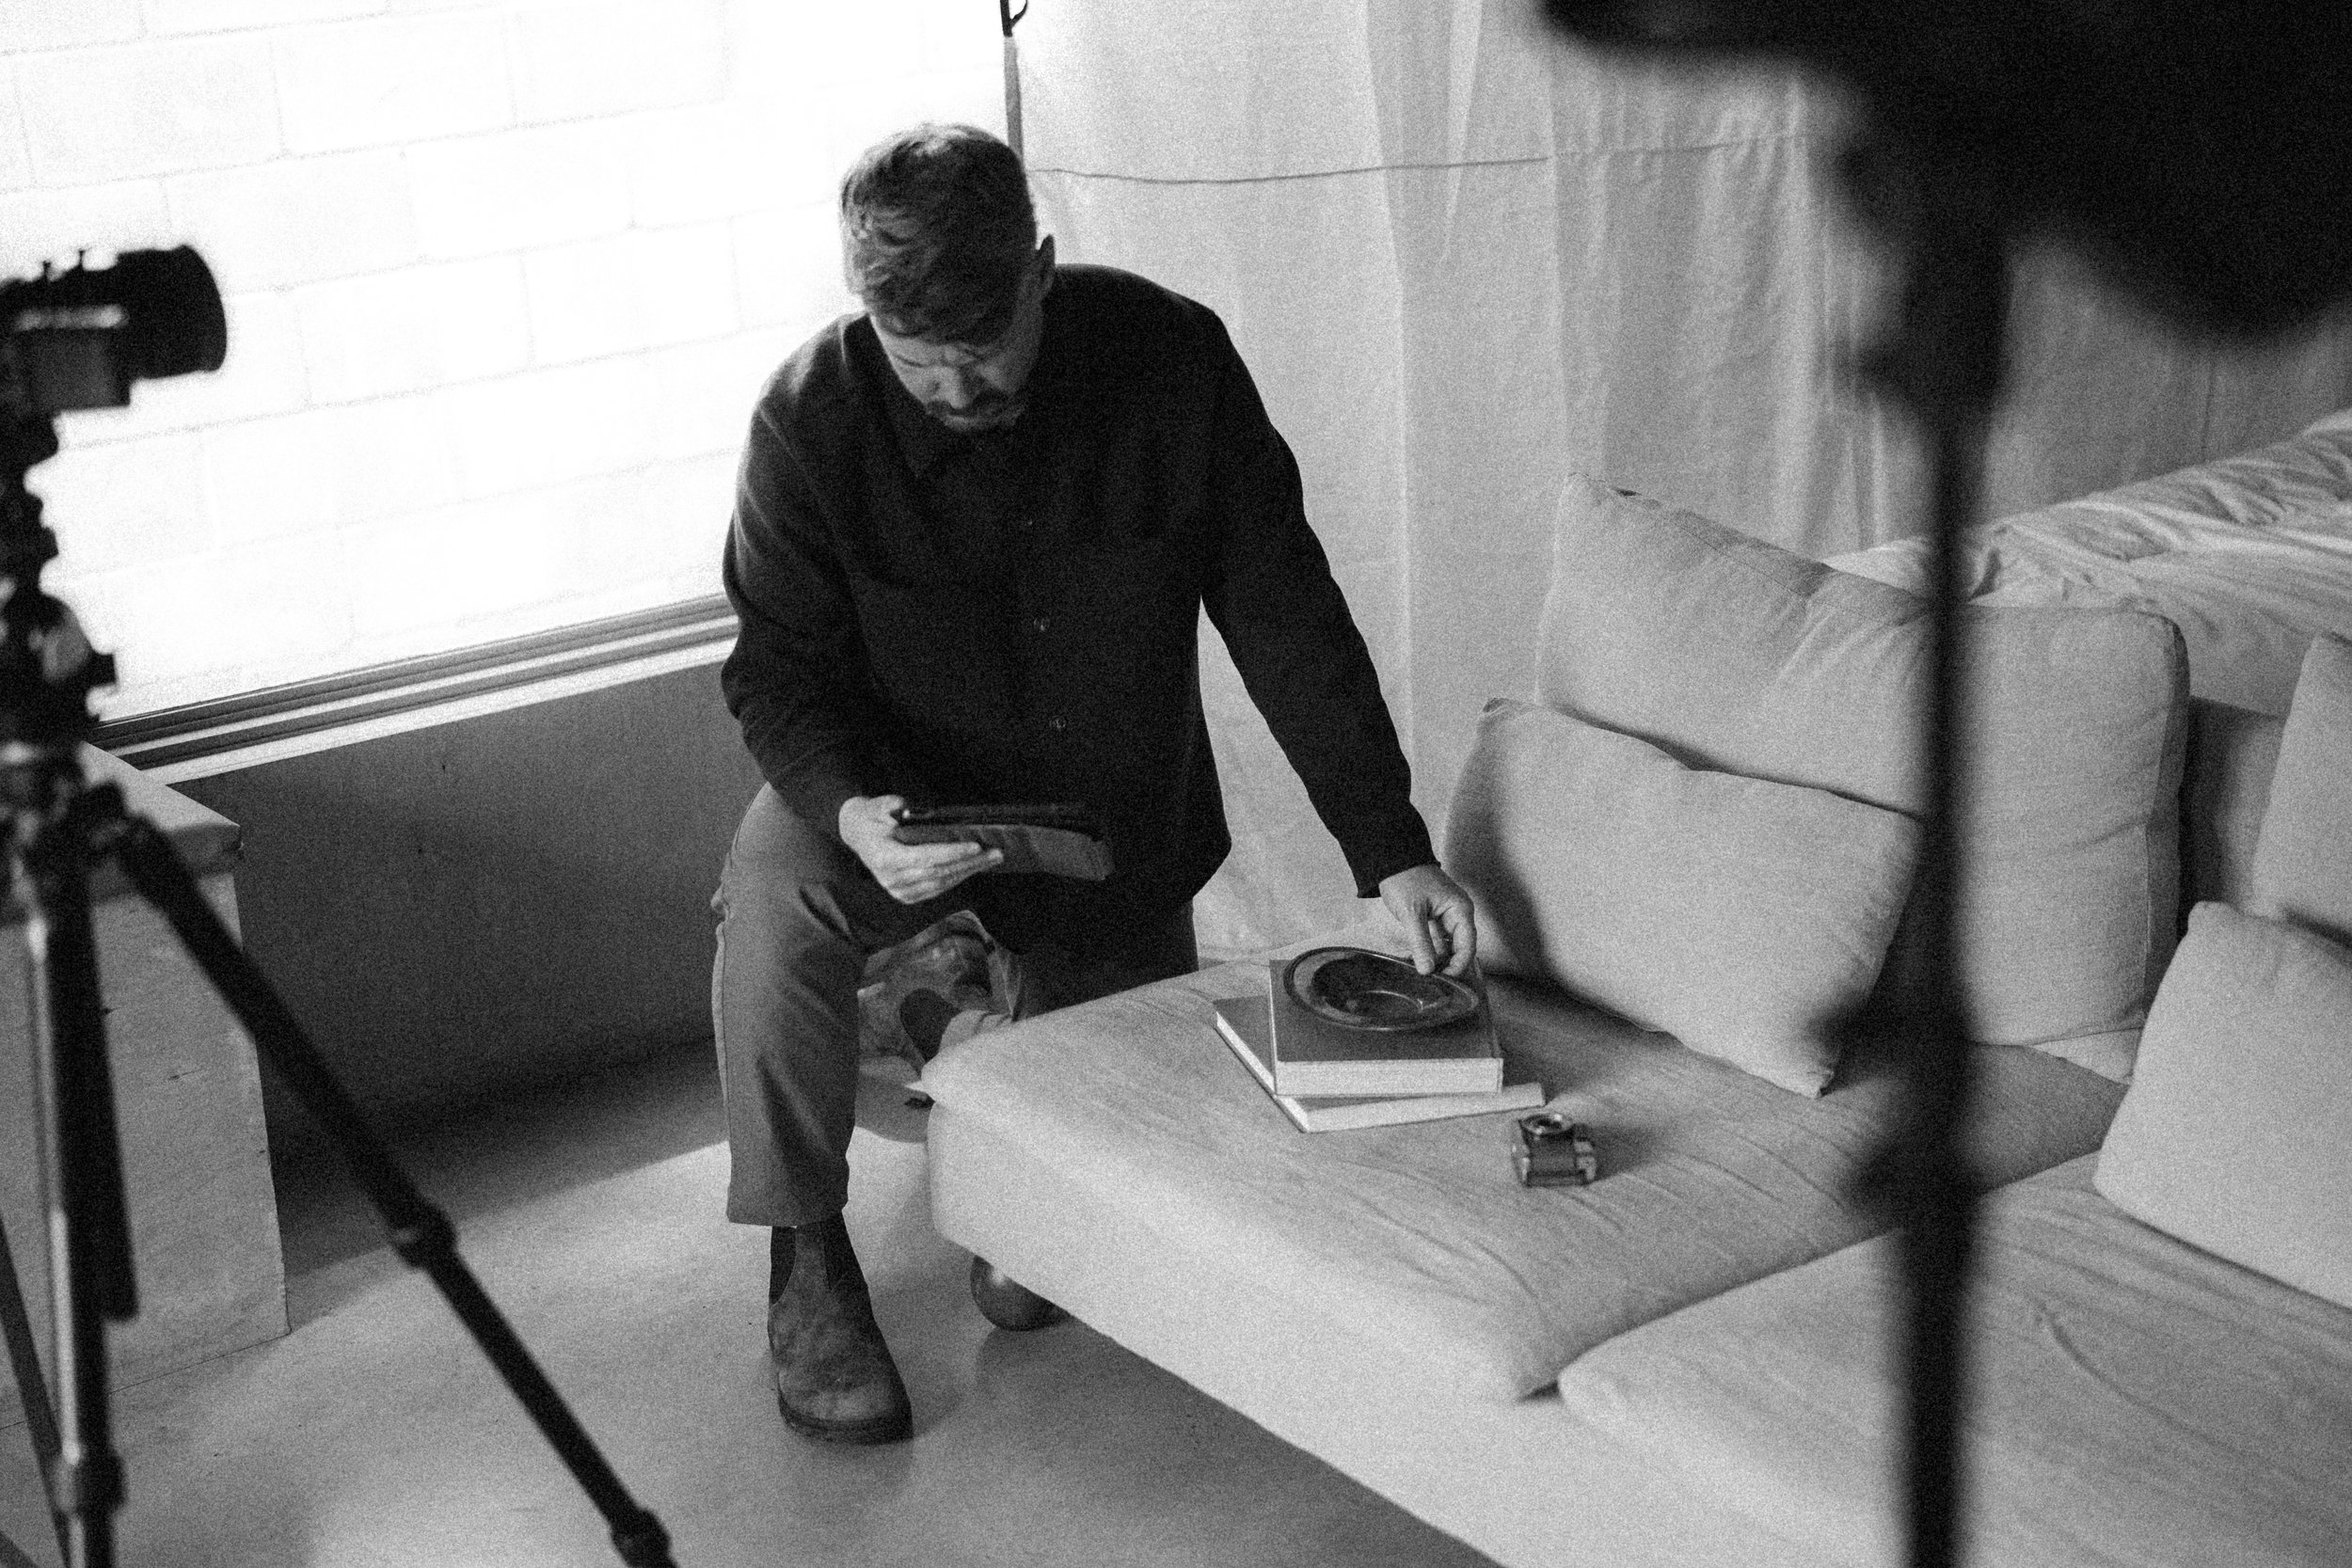
2. Know Who You're Trying to Attract
Your photos should speak to your dream client’s taste and values.Are they modern minimalists? Creative entrepreneurs? Growing families?
3. Name the Internal Theme or Hook
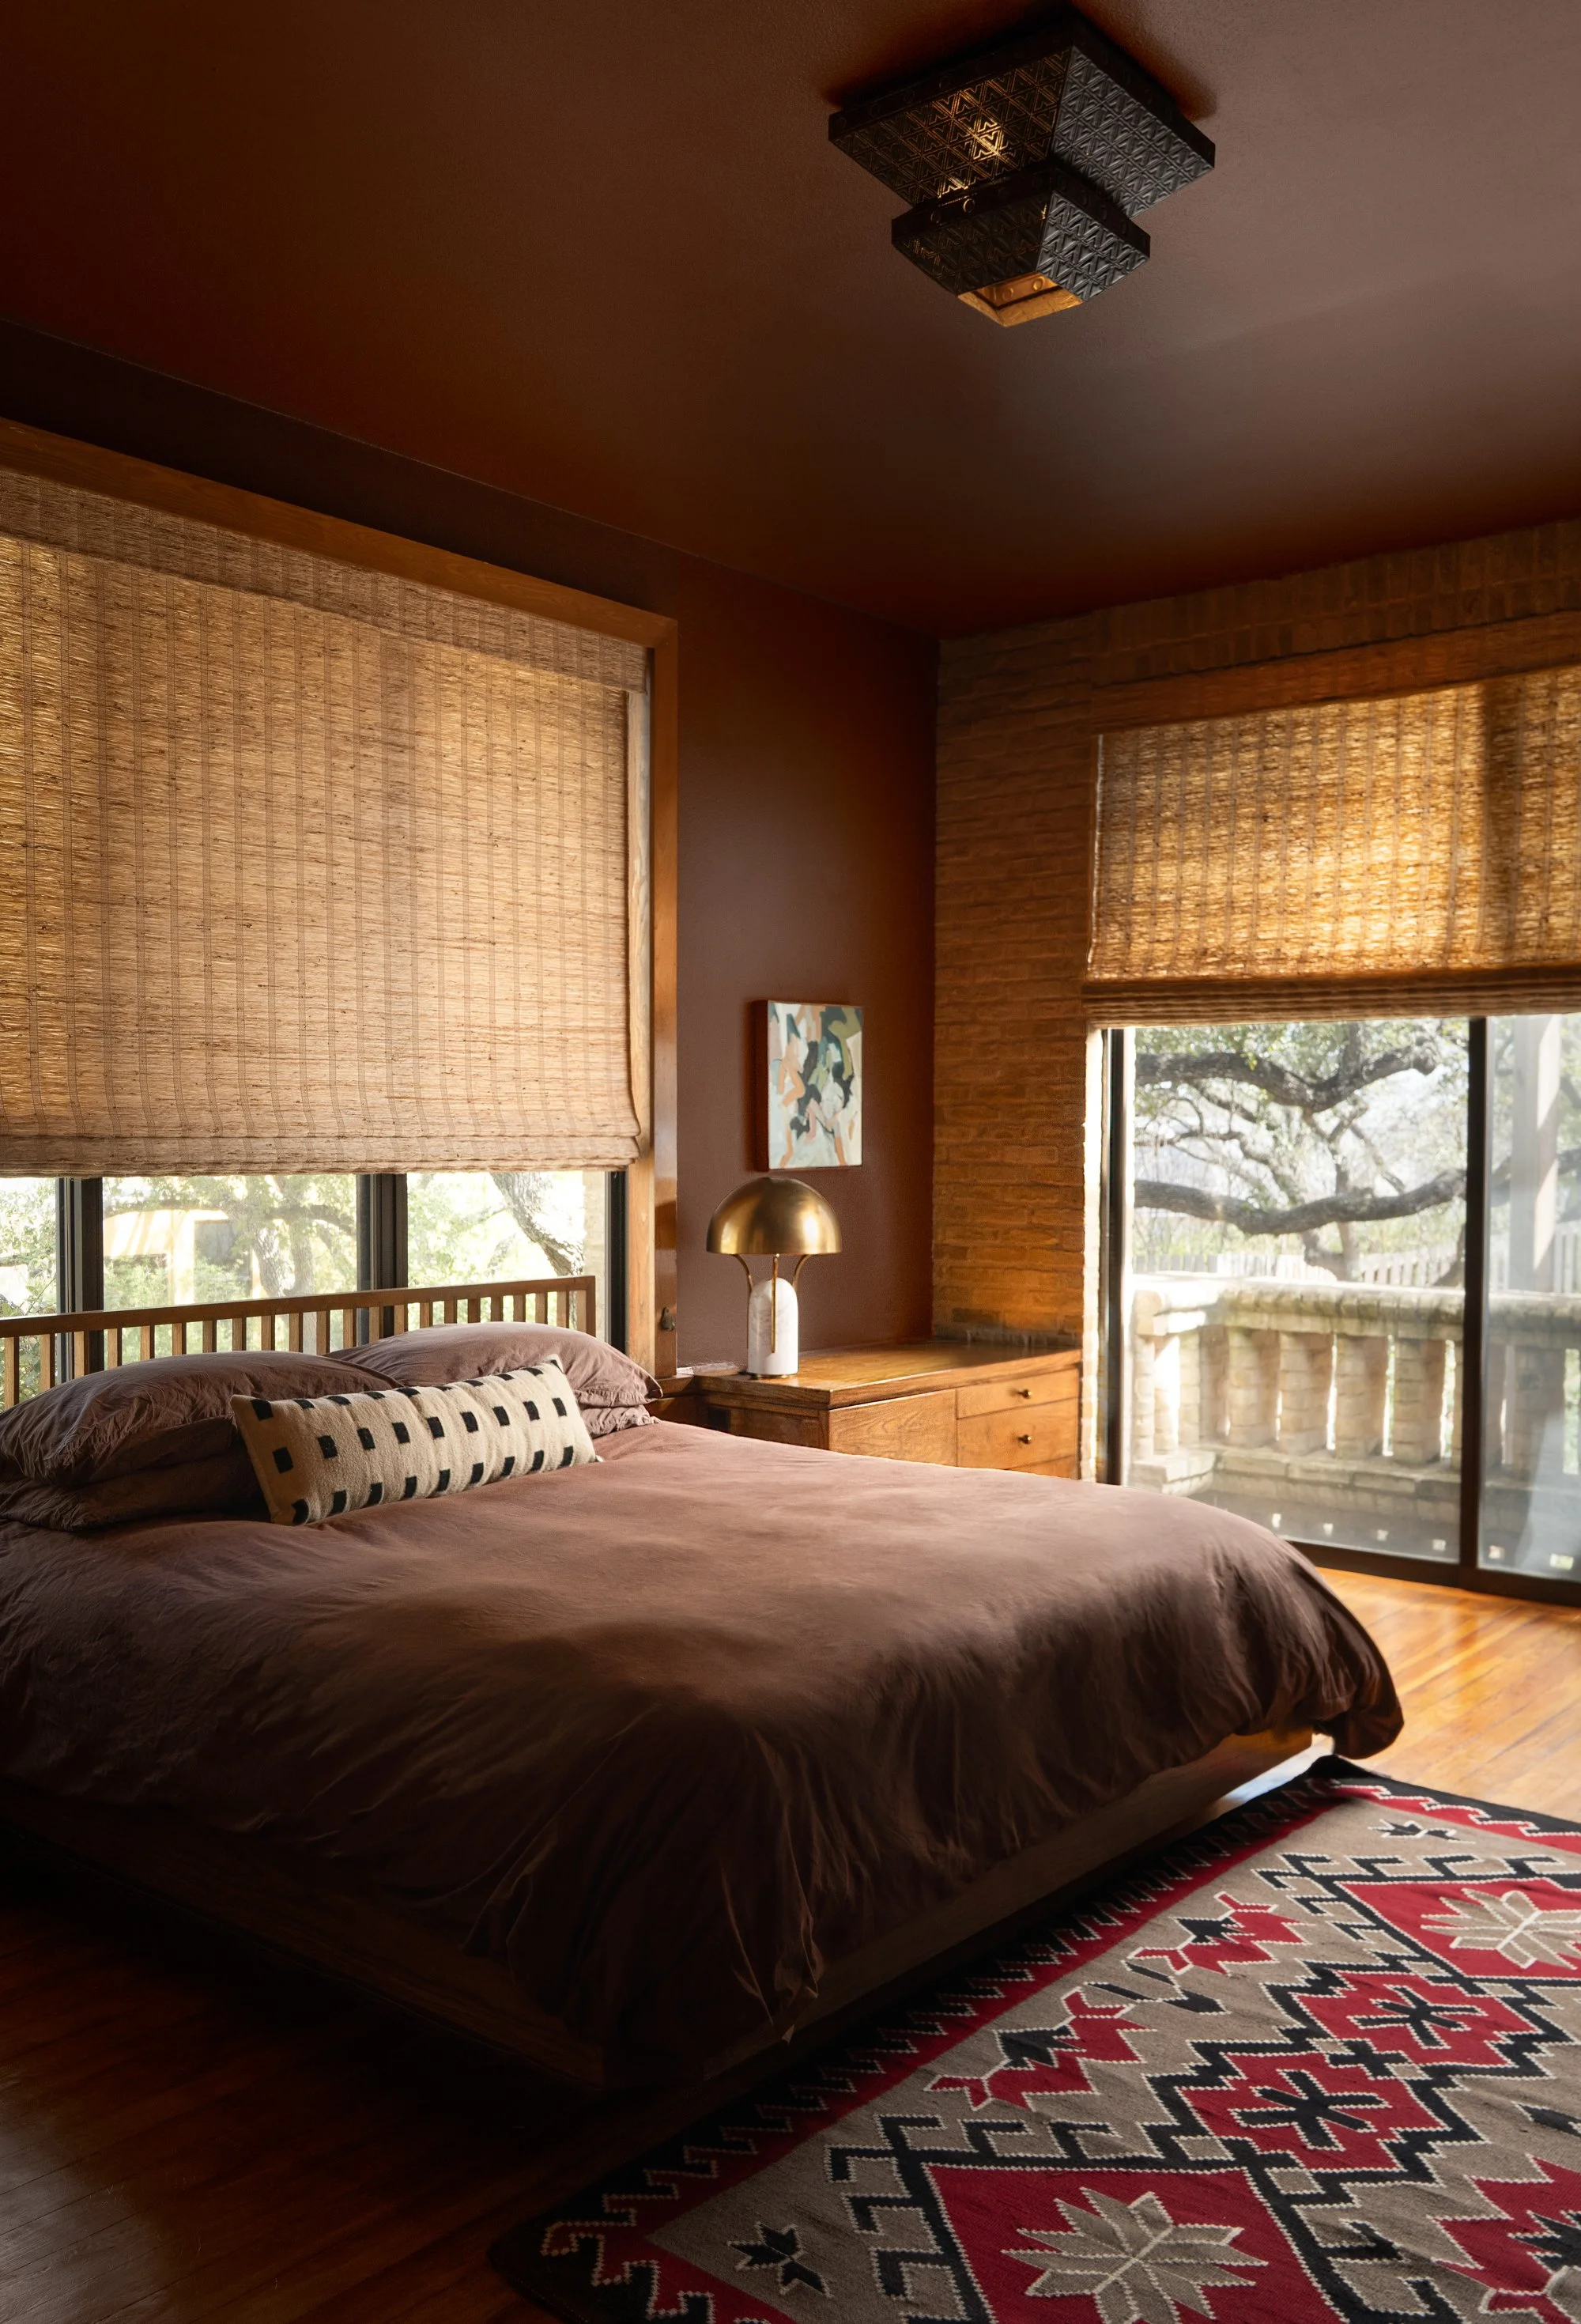
Give your shoot a working title like “Relaxed Luxury,” “Quiet Earth Tones,” or “Vintage Modern.”
It’s a creative anchor  -  even if you’re the only one who sees it.
4. Understand the Design Drivers
What inspired the design? A challenge? A material? A cultural element?Knowing this gives us creative direction for details and angles.
5. Collect Personal Client Details
Did the client contribute a story, object, or piece of themselves to the design? That’s gold.
6. Decide What You Want the Photos to Say About You
Your portfolio is your positioning. Are you editorial? Family-first? Sustainable? High-touch?Let that be part of the visual narrative.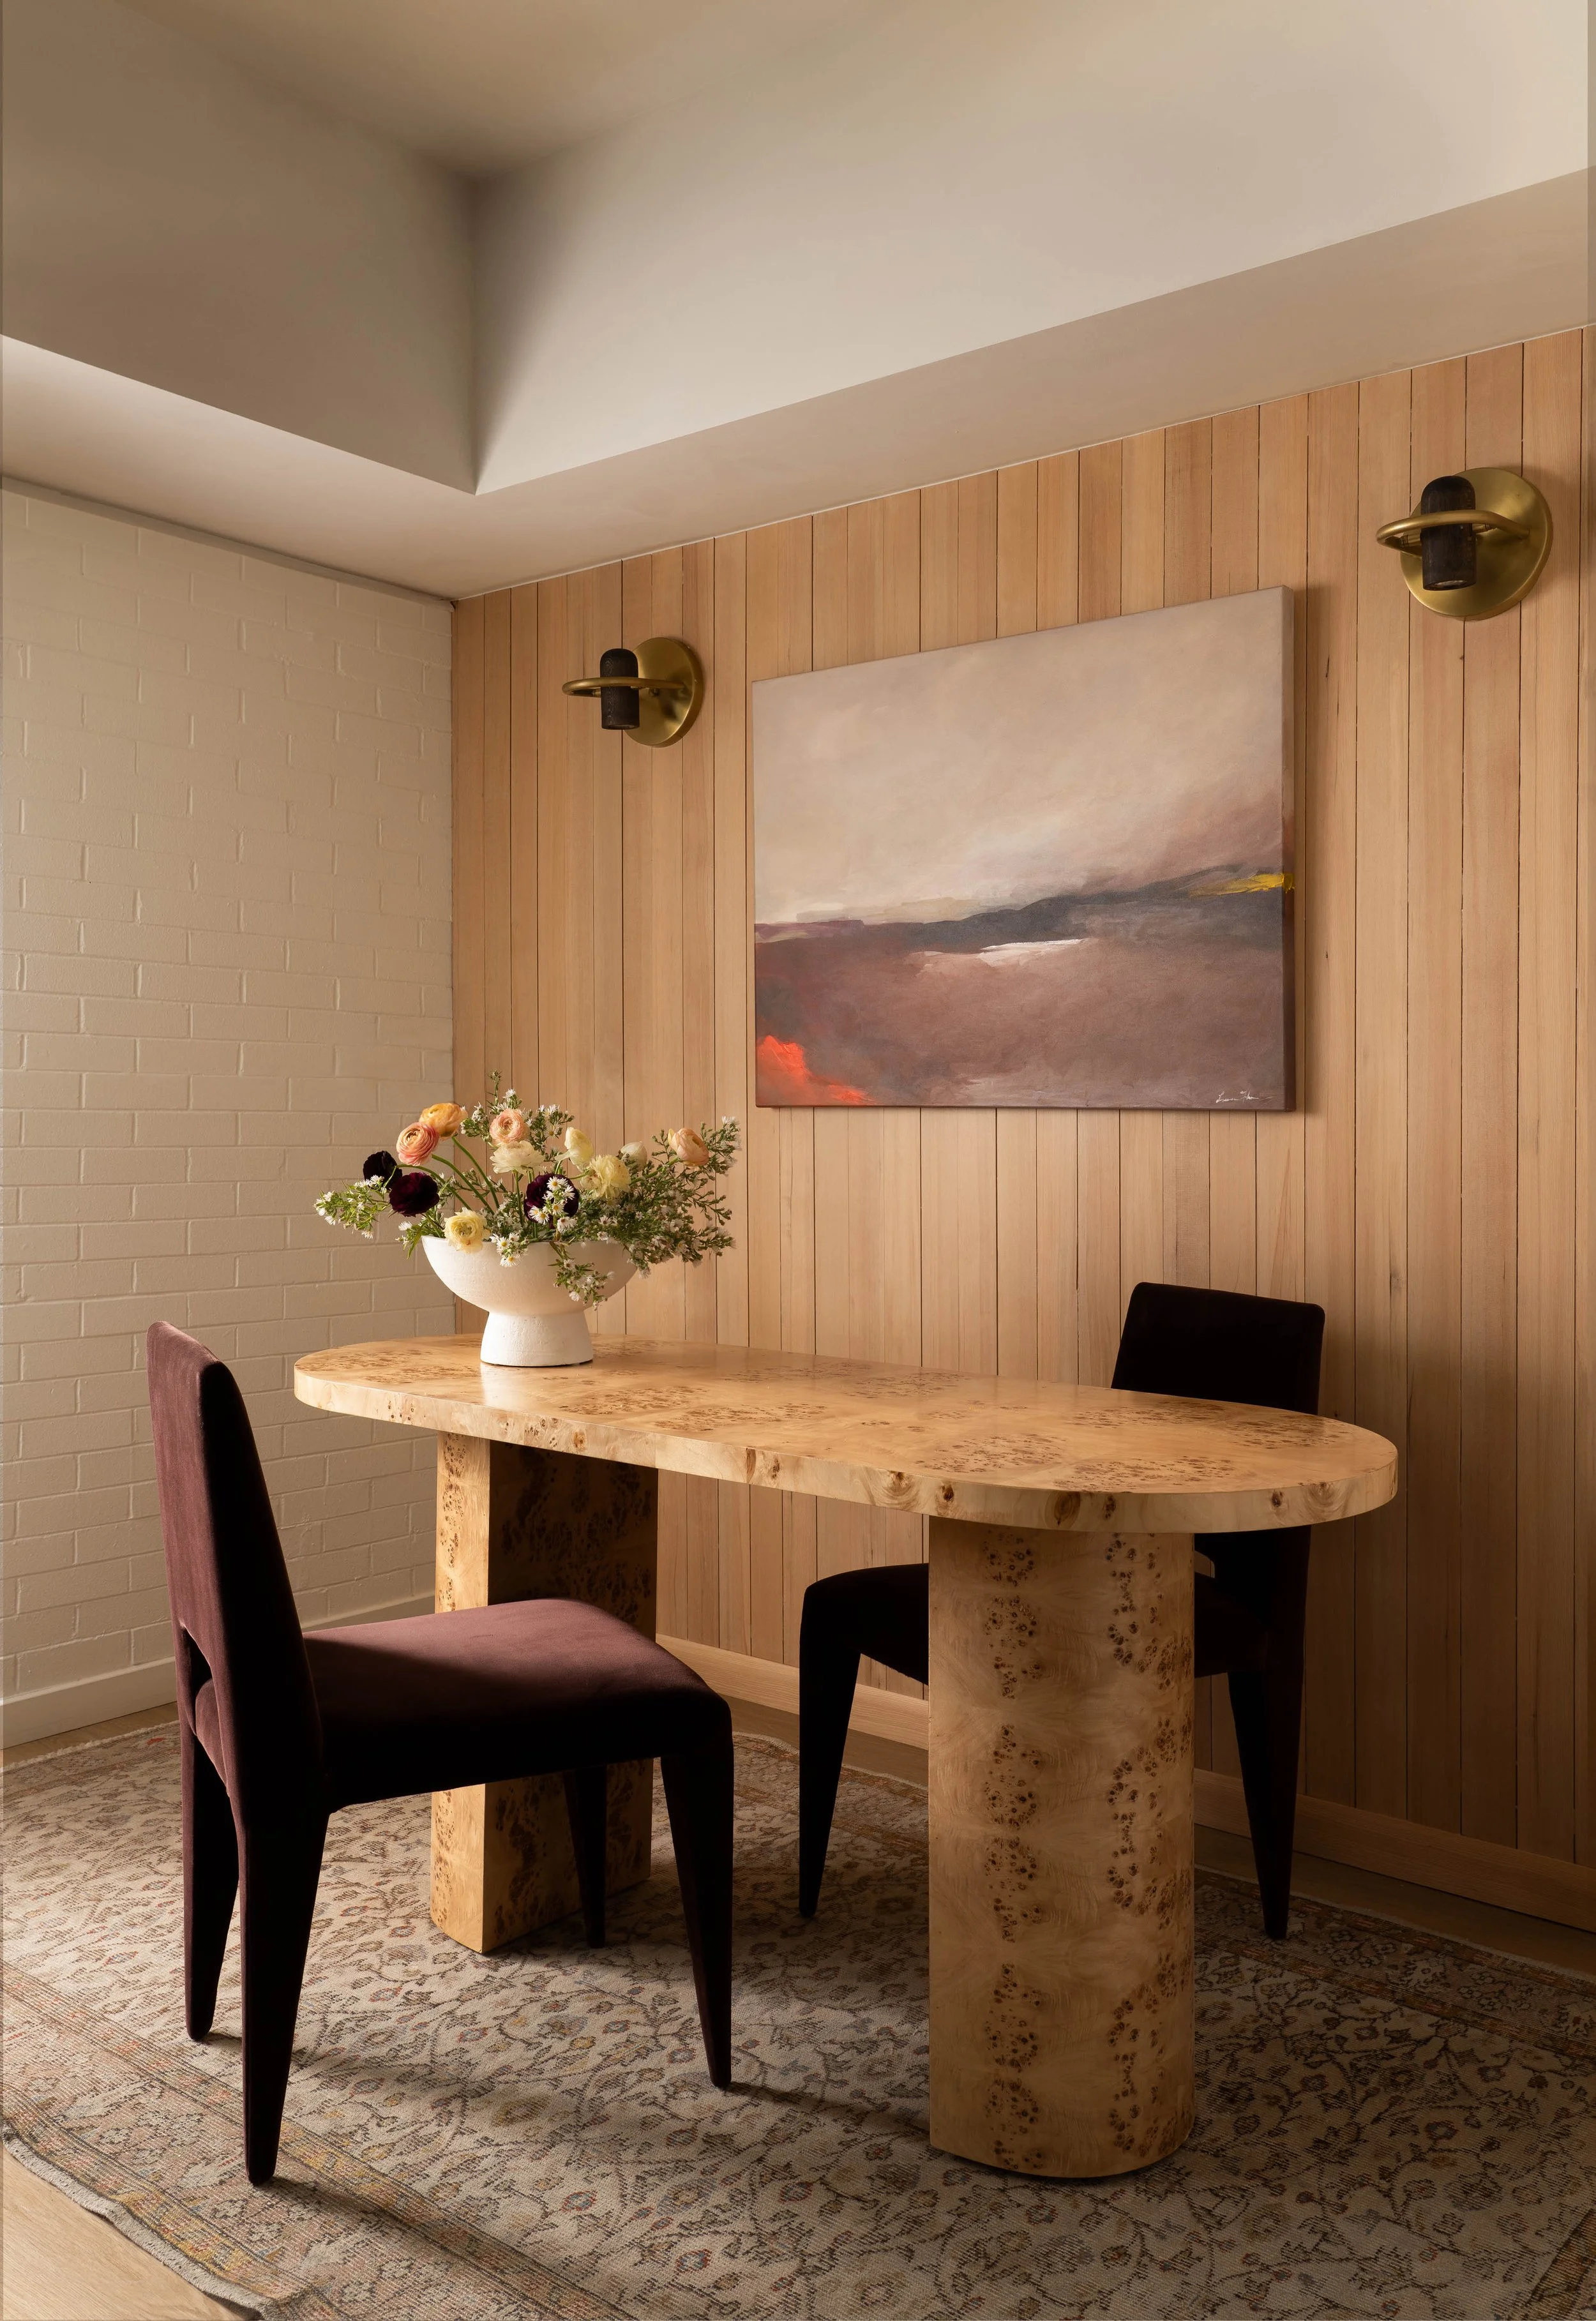
7. Select Key Moments That Anchor the Story
Choose 3–5 areas of the project to highlight. We’ll frame them in multiple ways - wide, medium, and tight - to give your story layers.
8. Think Ahead to Where the Story Will Live
Different platforms = different crops.Website: wide & cleanInstagram: editorial vignettesPinterest: vertical scroll-stoppersPress: depth and sequence
9. Align the Styling with the Story
Your props, textiles, and florals are part of the narrative. Match the tone of the project - minimal, cozy, bold, natural, etc.
10. Prepare Supporting Words + Captions
Document stories, quotes, or inspiration behind the space. These shape captions, press angles, and even future blog posts.
What Designers Often Overlook
The most common gap I see isn’t in the design - it’s in the preparation for the shoot.A rushed setup often leads to flat styling and missed storytelling moments.But when you prepare the narrative before the camera comes out, your content becomes more than just visual - it becomes strategic.Your Story Deserves to Be Told Well
If you’ve ever seen someone else’s work featured and thought,
 “My project is just as good  -  why didn’t I get noticed?”  -
 …it might not be the work. It might be how the story was presented.
That’s exactly why I created this: → $47 Pitch Without PR
Explore it here: https://www.jeffjonesphoto.com/47-dollar-pitch-without-pr
You’ll learn how to shape your project into a clear, compelling narrative—and pitch it with confidence to editors, collaborators, or future clients, without relying on a PR team.
Because great design deserves to be seen—and remembered.